Leaderboard
Popular Content
Showing content with the highest reputation on 01/05/2016 in all areas
-

What Is Your New Year's Resolution?
ticketstoloservile and 2 others reacted to Ayliffe for a blog entry
My new year's resolution is to not have a new year's resolution, therefore creating an endless paradox of sorts. Job done.3 points -

The 2016 Leak Thread
Sluicer and one other reacted to emily for a topic
Brickset has a list of several summer sets. There are going to be City sets... set in a volcano world. Okay?2 points -

What Is Your New Year's Resolution?
Ayliffe and one other reacted to CrashDSB for a blog entry
2 points -

What Is Your New Year's Resolution?
Lind Whisperer and one other reacted to Drill Master for a blog entry
Design a game that could at least knock on Undertale's door, Or at least park in the driveway... Neighbor?2 points -

The "I acquired more LEGO" thread!
STUDZ and one other reacted to mumboking for a topic
I bought this a few weeks ago for <£2.50, I forgot how much it was. It's missing the microfigures and a few other pieces. These were also in there:2 points -

Tutorial: Adding Custom Decals into LDD
Zed reacted to Jimbob for a topic
Adding Custom Decals into LEGO Digital Designer As great as LEGO Digital Designer is, it doesn't contain all the textures ever produced by the LEGO group. This tutorial will show you how to mod in custom textures to LDD so that you can use them in your models, and includes a little section at the end on setting these models up for rendering in POV-Ray. In order to add custom decals into LDD, you will need the following: LIF Extractor by JrMasterModelBuilder Notepad++ (or any decent text editor, this is free and recommended) A decal in PNG format Step 1: Preparing LDD Before you can add in custom decals, you'll need to prepare LDD for modding. To do this, you will use the LIF Extractor you downloaded previously. Navigate to your Application Data directory, and locate LDD's folder. On Windows 7 this path should be: C:\Users\YOURUSERNAME\AppData\Roaming\LEGO Company\LEGO Digital Designer Inside you will find, among other files, a large file called db.lif. This file contains all the decorations that are loaded into LDD, in addition to various other files. Now open the LIF Extractor in a new window. Navigate inside the folder relevant to your operating system - for my 32 bit computer, this is LIF_Extractor_Win_32bit. Drag the db.lif file onto the LIFExtractor.exe file inside, and it will begin the extraction process. This might take a while depending on your computer - on my Windows 7 netbook it took almost an hour, but on my old Windows XP laptop it took about a minute - so feel free to pop off to the nearest Support Station for a sandwich. Do not get impatient; just wait for the command window to disappear. Once it does, the extraction is complete. Ta-da! You'll see a shiny new folder called db sitting next to the db.lif file. Now, to set LDD to run from this folder rather than the db.lif file, simply rename the db.lif file to something else (don't delete it - you'll want to keep it as a backup). In this example I'll rename it to originaldb.lif. Your folder should now look like this: That's it, Step 1 is complete and you're all set! Step 2: Adding Custom Decals Now to the main part of this tutorial. Adding custom decals into LDD is actually very easy, and you probably won't need to refer to this tutorial any more after your first few tries. Open the db folder you extracted in Step 1. There are several files and folders here, but the only two we're concerned with are Decorations and DecorationMapping. I have highlighted them in the image below. The Decorations folder contains over 1,500 PNG images, all of which are used as decals on bricks and minifigure parts. The DecorationMapping.xml file is just one big list of all these files, and tells LDD which parts these decals should be available to. To add your own decal into LDD, simply save it in PNG format (if it isn't already) and copy it into the Decorations folder. The important thing is that you must now name it with a unique 5-digit number (plus the extension, of course). You can give it any number, so long as no other file in that folder already has it, so in this example I will use 10001. Here you can see I've created a masterpiece of a face decal and placed it in the Decorations folder. Now that the decoration is in the correct location, go back out into the db folder, and open DecorationMapping.xml in Notepad++ (or another decent text editor). You will see, after the first two lines, an indented list many lines in length. The format is: <Mapping decorationID="54580" designID="3626" surfaceID="1"/> The decorationID number is the name you gave your decal in the Decorations folder, excluding the extension. If you remember, in this example it is 10001. The designID number refers to the part that the decoration can be placed onto - in this case, it is 3626, which is the minifigure head piece. Tip: To find out the number of a particular piece, look for a decal that the relevant piece currently uses in the Decorations folder (for example, 55071). Then search this number in the DecorationMapping.xml file, and the associated designID is the part's ID (55071 has designID 3070, hence the 1x1 tile piece's ID is 3070). My custom decoration is intended to be used on a minifigure's head, so I'll leave it as 3626. Copy any line you wish and paste it at the top of the list, after the first two lines (or manually type a new one). Then change the decorationID to your decal's name, and the designID to your part's ID. By placing your decoration at the top of the list, LDD will read it first, so it will appear at the top of the decorations list in the application. Save the file, close it, and you're done! Step 3: Checking Out Your New Decal Launch LDD and enter LDD Extended mode. You can do this by selecting View > New themes > LDD Extended. Place the part you added a new decal to, select the Decoration tool (found by first selecting the Paint tool), and click on your model. If all goes well, the first decoration in the list should be your newly modded one! But what happens if you want to distribute this file? Well, the decoration ID of each part is saved to the file. If you save your model with a custom decal on it, then load it into an unmodded (or modded without the current decal in it) version of LDD, it simply won't appear. The part is still registered as containing that decal though, as mentioned previously, and therefore if you open the file in a correctly modded version of LDD it will reappear again. This means that you can distribute your .LXF files either with standard decals, for users with unmodded version of LDD, or containing the modded files so that other people can use them too. Or both, which is probably better. One final note: le717 pointed out that updating LDD will cause any current mods to be lost, so you will need to backup your decals somewhere else and reinsert them into LDD each time there is an update, starting from Step 1 of this tutorial. Rendering Models with Custom Decals You've just finished building an AWESOME model using custom decals, and want to render it in POV-Ray*. But the POV-Ray converter requires that you use an unmodded version of LDD, so what do you do? It's very simple. After saving your model, change all the decals in it to any standard decals that LDD uses by default. Save a new copy of the file, and then rename your originaldb.lif file back to db.lif. When you load the LDD-to-POV-Ray converter, there is an option to render with custom decals. Just tick this, and replace all the decals with your own ones. Remember, if you want two of the same part (a minifigure's head, for example) to use different decals in the same model, you will need to give them both different standard head decals. The LDD-to-POV-Ray converter changes each individual decal for all parts that use it in a model. *Not sure how? Check out le717's tutorial here.1 point -

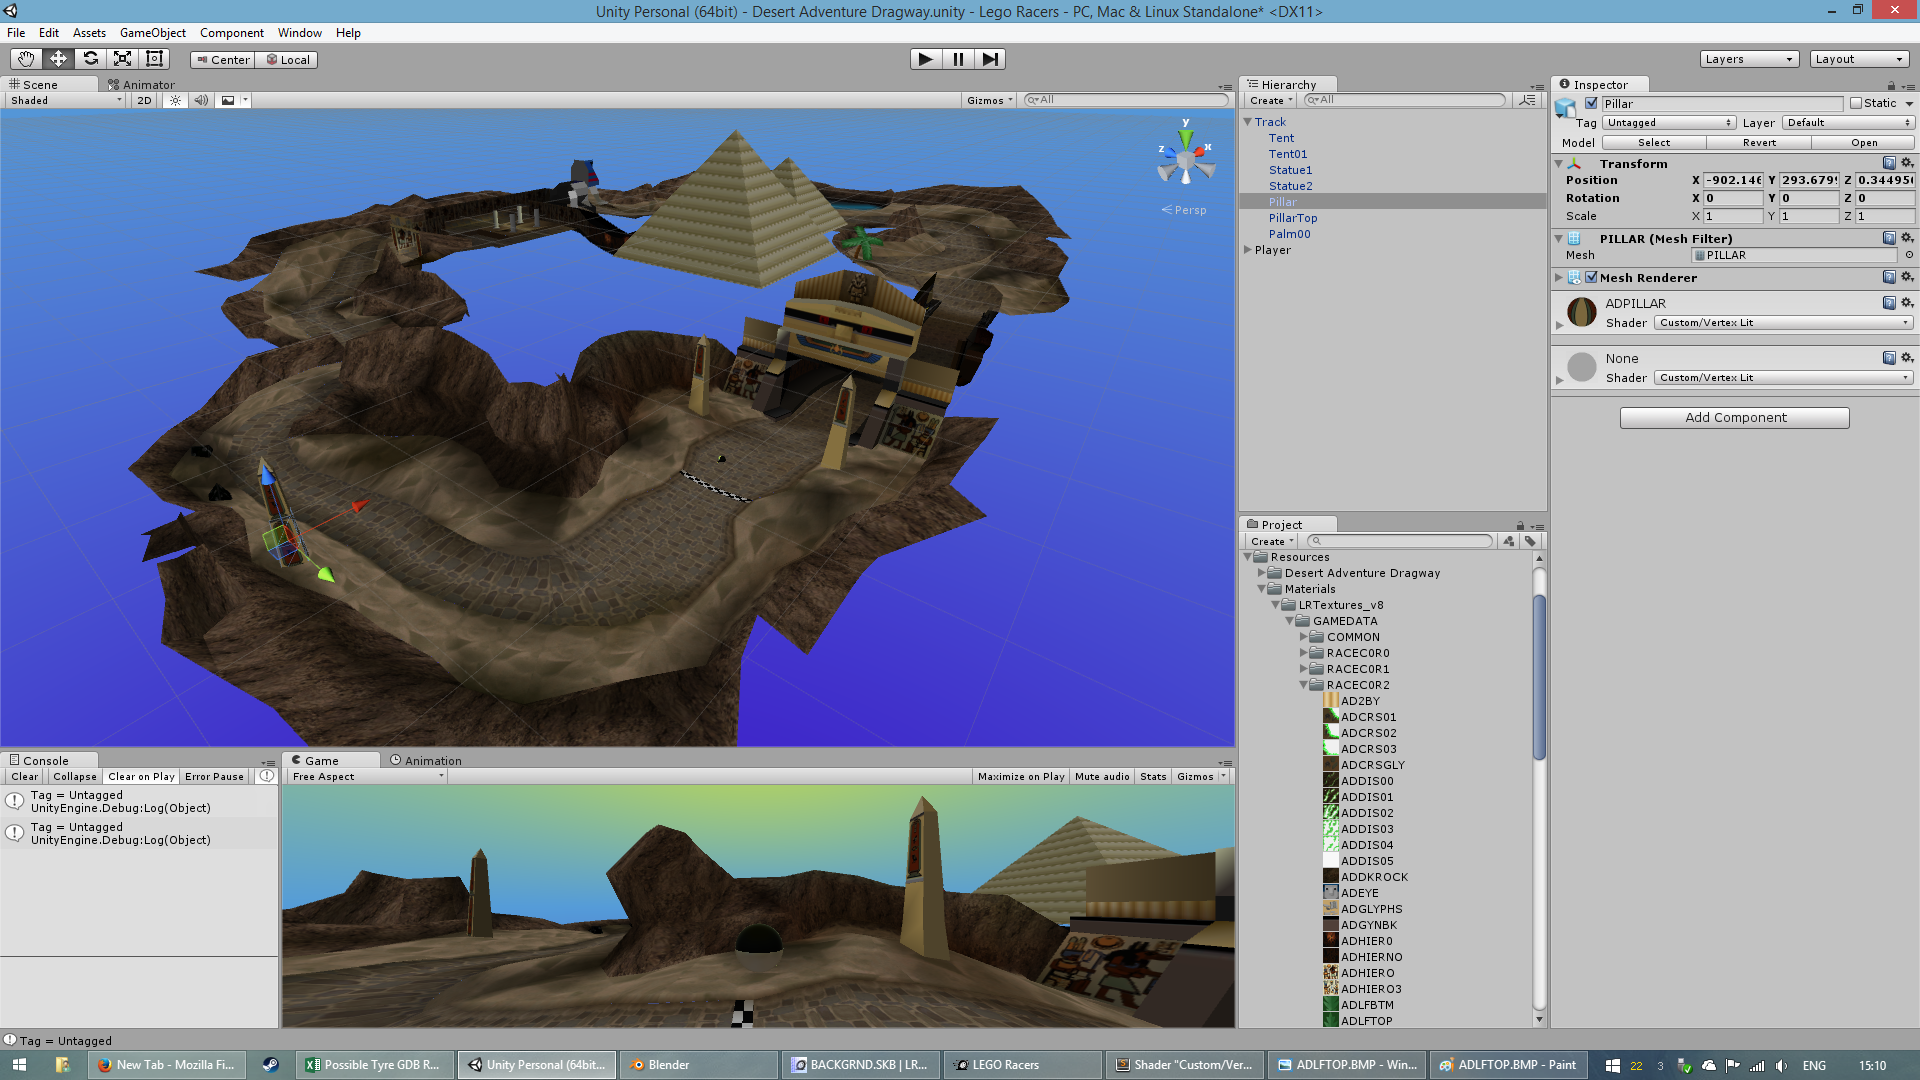
LEGO Racers in Unity
dy_enforcer reacted to celynwalters for a topic
So I've been lurking here for quite a while. I finally got round to learning a bit of Unity, one thing led to another and I came up with this: I've tried to be as faithful as possible, so even including the errors in the original track. Now I know what I'm doing, it doesn't take quite so long to do more tracks, but it's still very manual, and I've not worked out how to do some things yet. Plus I have no idea what my actual aim is, I just think it's pretty cool! I've attached a screenshot of the next part of the project. These new forums are great, but I could really do with a post preview option... 1 point
 -

Favorite LEGO Vehicles?
STUDZ reacted to Ostoya for a topic
The generic 1980s car design. You know the one. And yeah, I adore the Deep Freeze Defender too. So glad I was able to piece one over time.1 point -

What Is Your New Year's Resolution?
The Ace Railgun reacted to McJobless for a blog entry
Become McJob.1 point -

What Is Your New Year's Resolution?
CrashDSB reacted to Zed for a blog entry
2x1 I haven't made new resolutions for several years, but I guess mine this year would be the same as Lind Whisperer's.1 point -

What Is Your New Year's Resolution?
CrashDSB reacted to Fluffy Cupcake for a blog entry
I almost missed the word "year" in that title. Anyhow, I have the same resolution as any other year: None.1 point -
.jpg.2795c0e14b37a400f419c8361523f549.thumb.jpg.4b52c1b2ded4e5f35fd918172a2f721d.jpg)
What Is Your New Year's Resolution?
CrashDSB reacted to Larry for a blog entry
yes im making the same joke.....1 point -

The "I acquired more LEGO" thread!
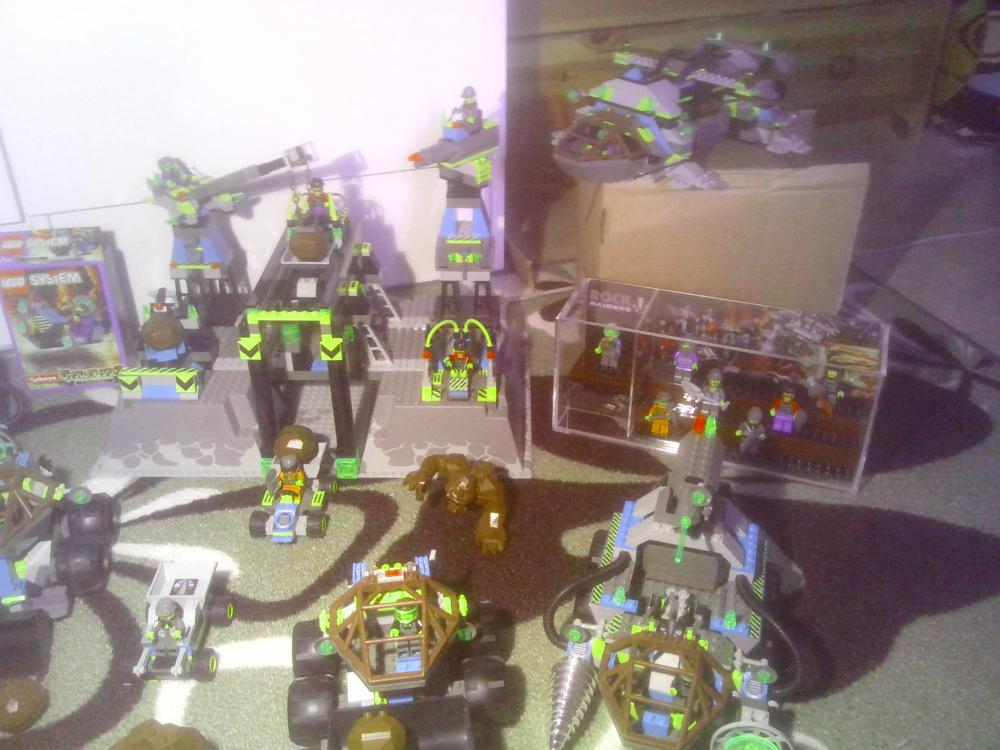
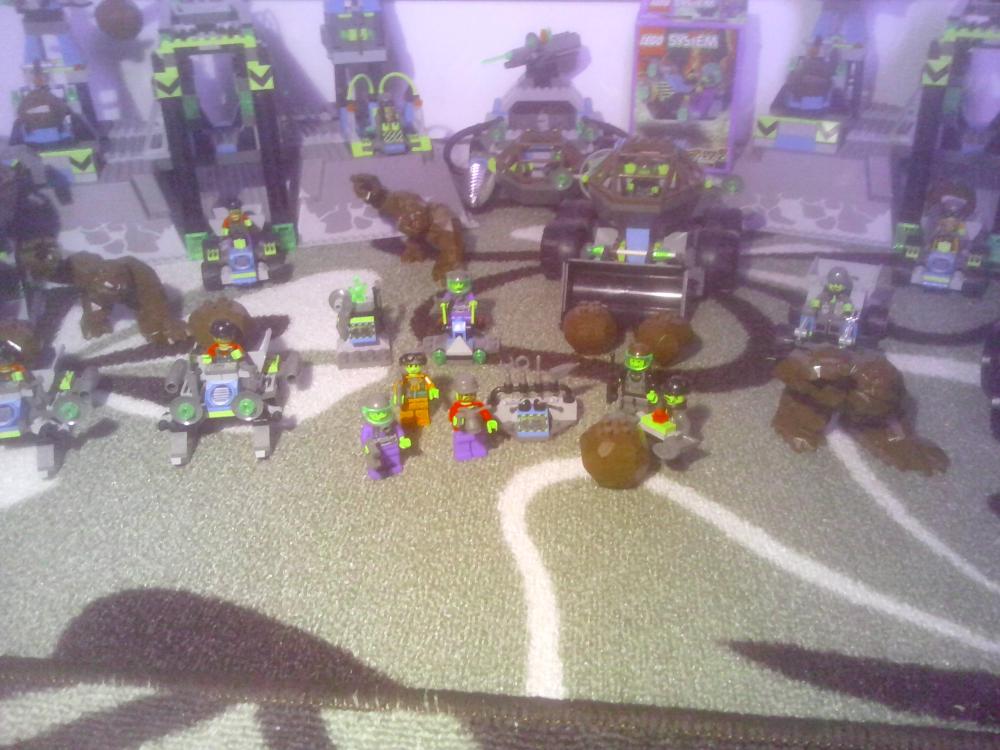
Ayliffe reacted to Raiderforce for a topic
I've bought them during the last two months, and i will probably buy more, so i can build every building and vehicle from Lego Rock Raiders PC Game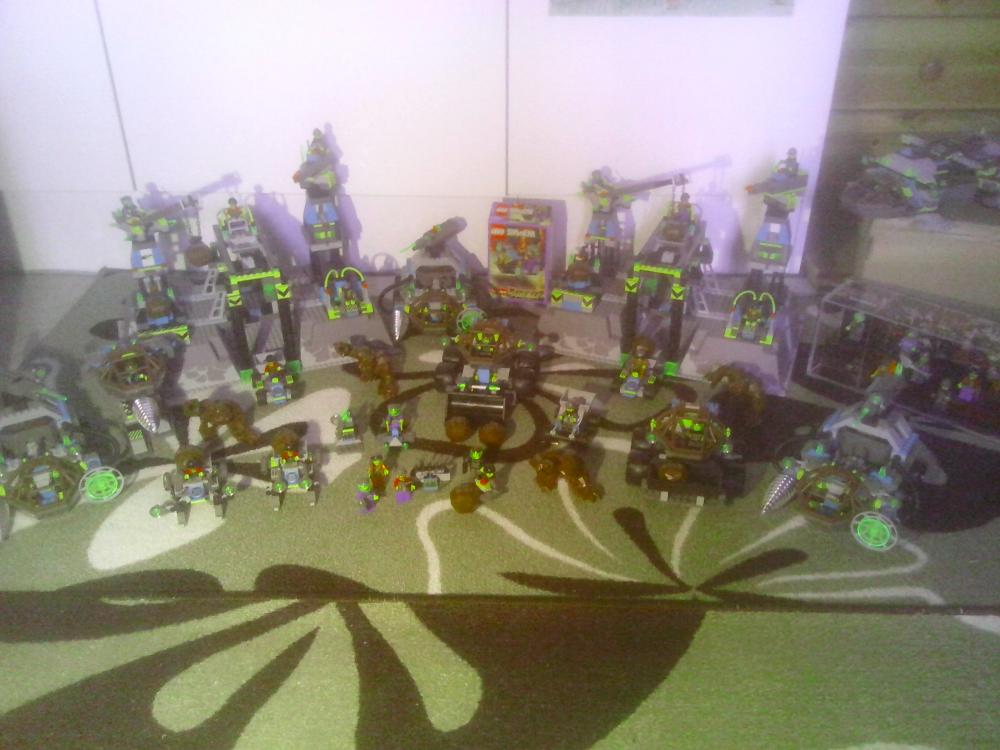
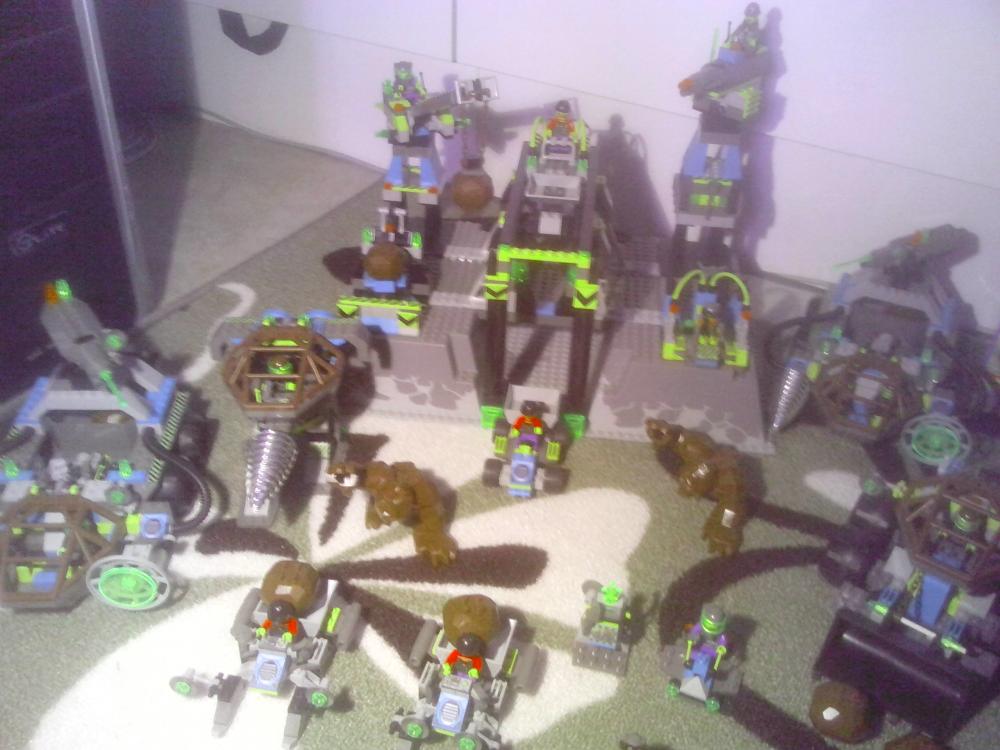
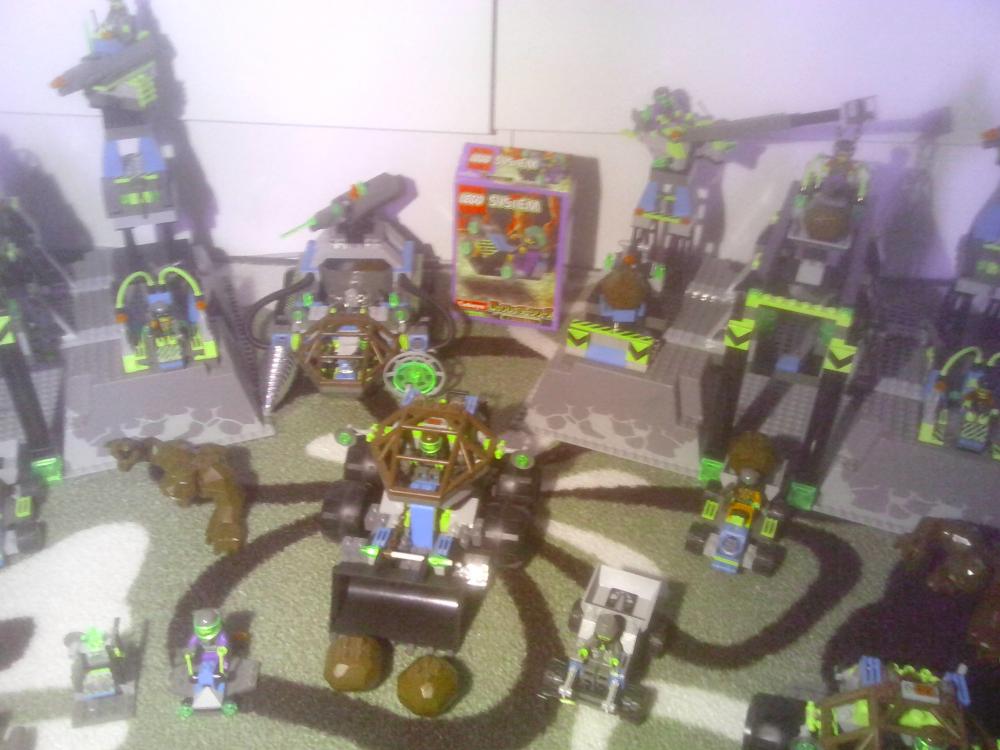
 1 point
 -
The "I acquired more LEGO" thread!
aidenpons reacted to Ayliffe for a topic
Managed to find this lot (and their instruction booklets) for a quid in a jumble sale.1 point -

The "I acquired more LEGO" thread!
aidenpons reacted to Wognif for a topic
My brother's girlfriend just came over.... and gave me this. Its supposed to be a micro-model of the Statue of Liberty, and that set is apparently only available in New York. But if you ask me, it looks nothing like the real thing.1 point -
The "I acquired more LEGO" thread!
Quisoves Potoo reacted to emily for a topic
Man, I tell you what. Getting Kopaka and popping that free CD into the computer. That changed my life. Probably a really stupid event to set as a pivot point, all things considered. But it was big. It was like a whole new world opening up for the first time. And I guess it was.1 point